Creating a safe
Warning
Data model objects: safes, users, servers, accounts and listeners are replicated within the cluster and object instances must not be added on each node. In case the replication mechanism fails to copy objects to other nodes, contact technical support department.
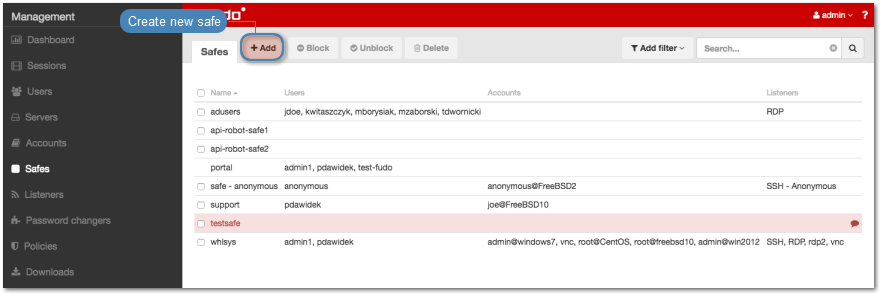
- Select > .
- Click .
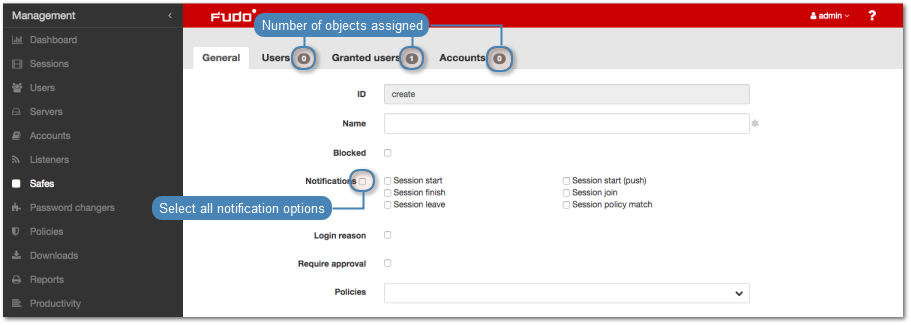
- Enter object’s name.
- Select Blocked option to disable access to object after it’s created.
- Select system events, about which you want to be notified.
Note
- Notifications settings are applied only to the currently logged in user.
- Session start (push) notification requires an external proxy service. For more information on proxy server configuration refer to Proxy servers configuration topic.
- Select Login reason option, to display prompt upon logging in, asking user to enter login reason.
- Select Require approval option to have the administrator approve each connection to servers accessed through configured safe.
- Assign security policies in the Policies field.
- In the Protocol functionality section, select allowed protocols’ features.

- Select Users tab to assign users allowed to access accounts assigned to this safe.
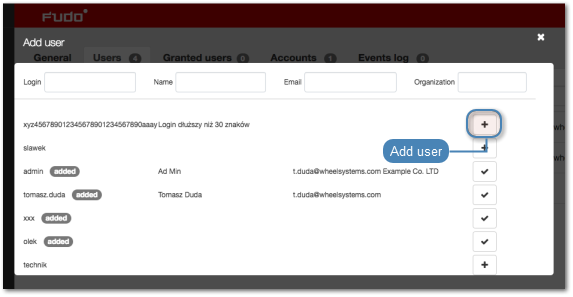
- Click .

- Click i next to desired user to enable server access over monitored safe.
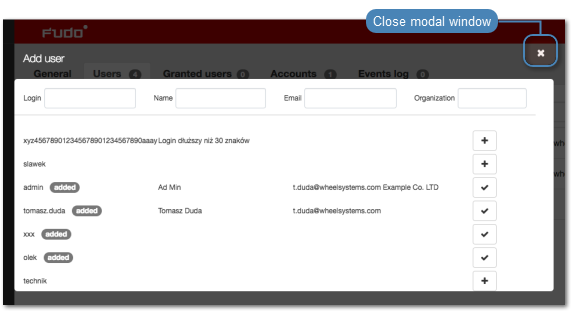
- Click i to close the modal window.
- Click . to define when given user can access this object.
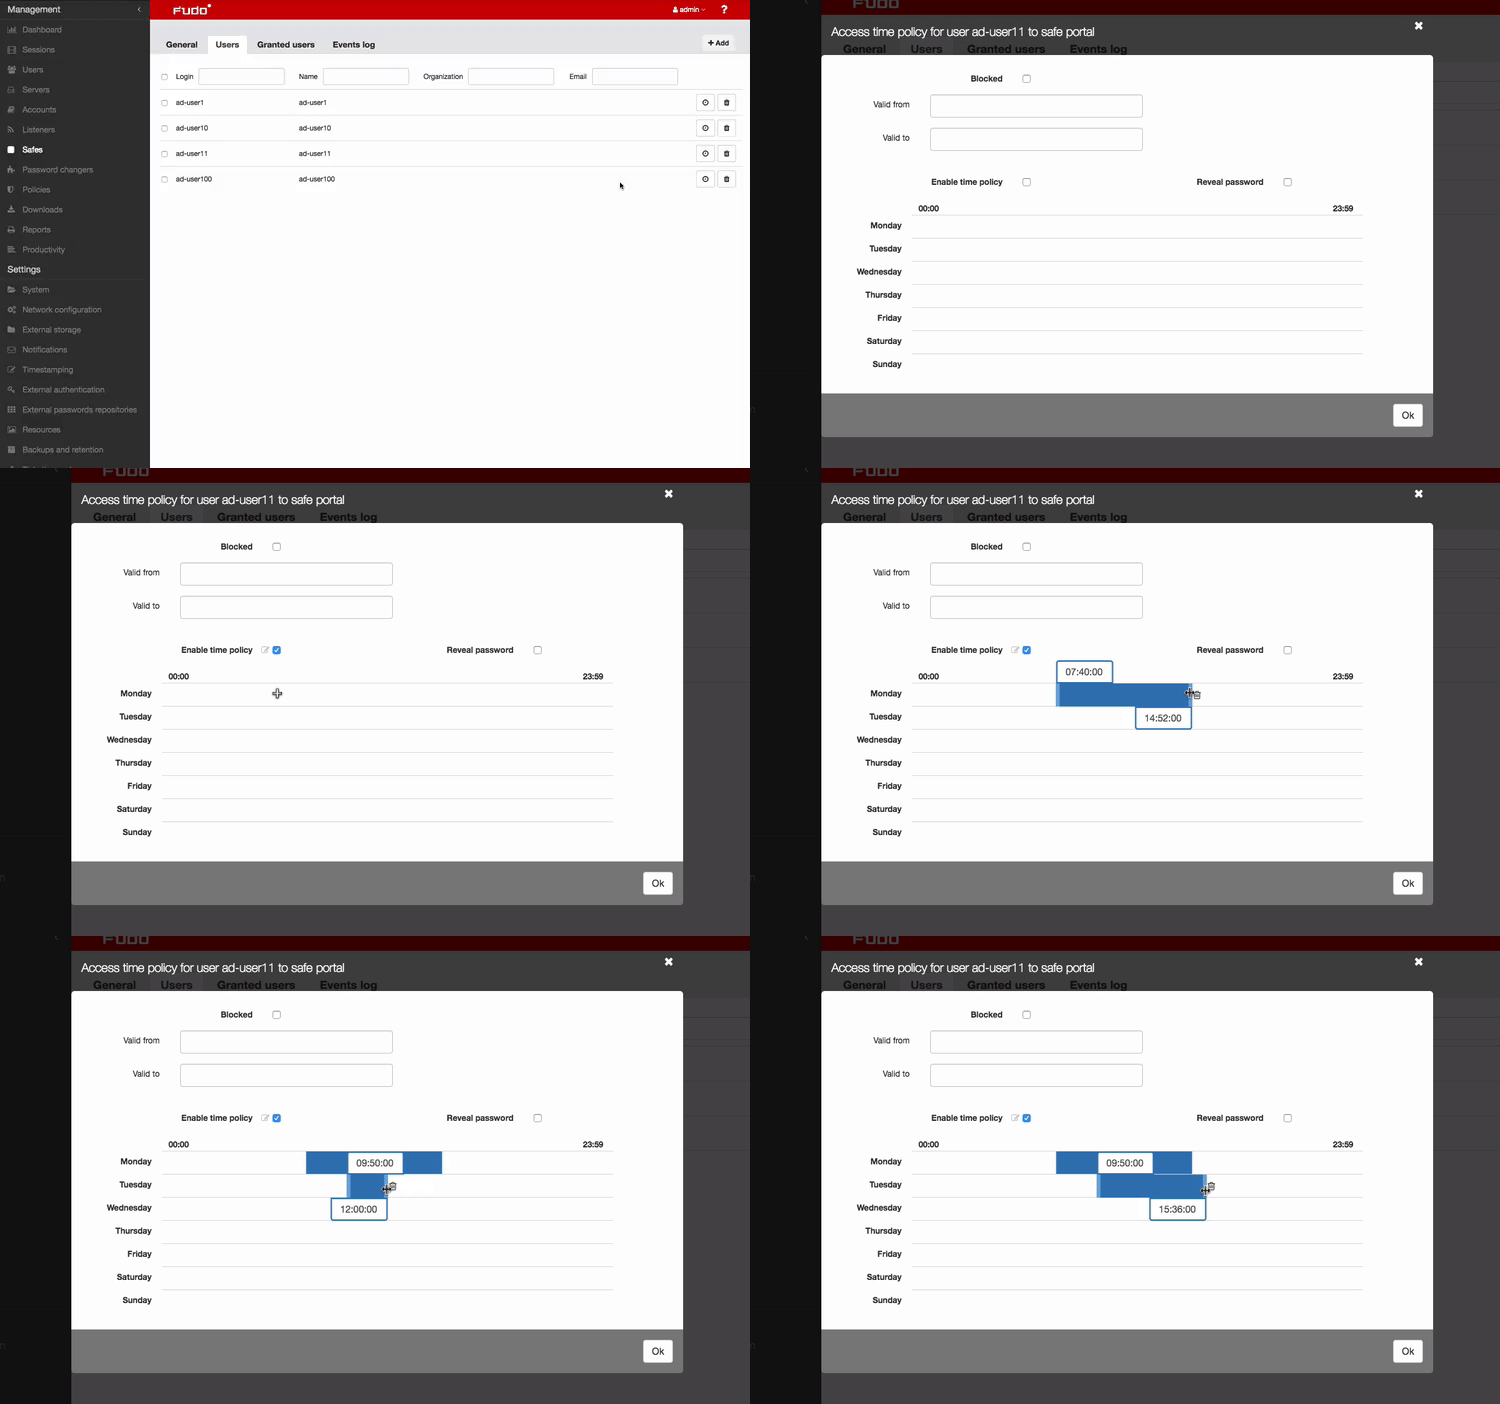
- Select Granted users tab to assign users allowed to manage this object.
- Click .

- Click i next to desired user to enable server access over monitored safe.

- Click i to close the modal window.

- Select Accounts tab to add accounts accessible through this safe.
- Click .

- Click . to add accounts.

- Click . to close the modal window.
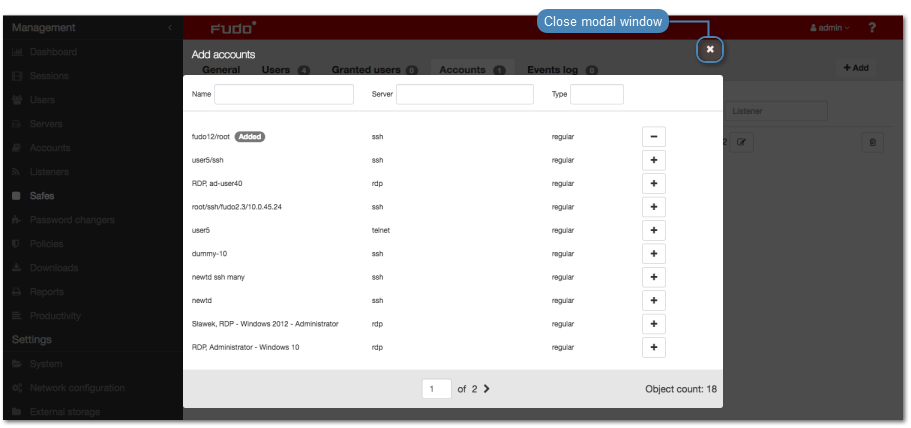
- Click to assign listeners to accounts.

- Click . to add listeners.

- Click . to close the modal window.

- Click .
Related topics: